Menu

Show posts

This section allows you to view all posts made by this member. Note that you can only see posts made in areas you currently have access to.

Show posts Menu

Messages - Primarina

#16
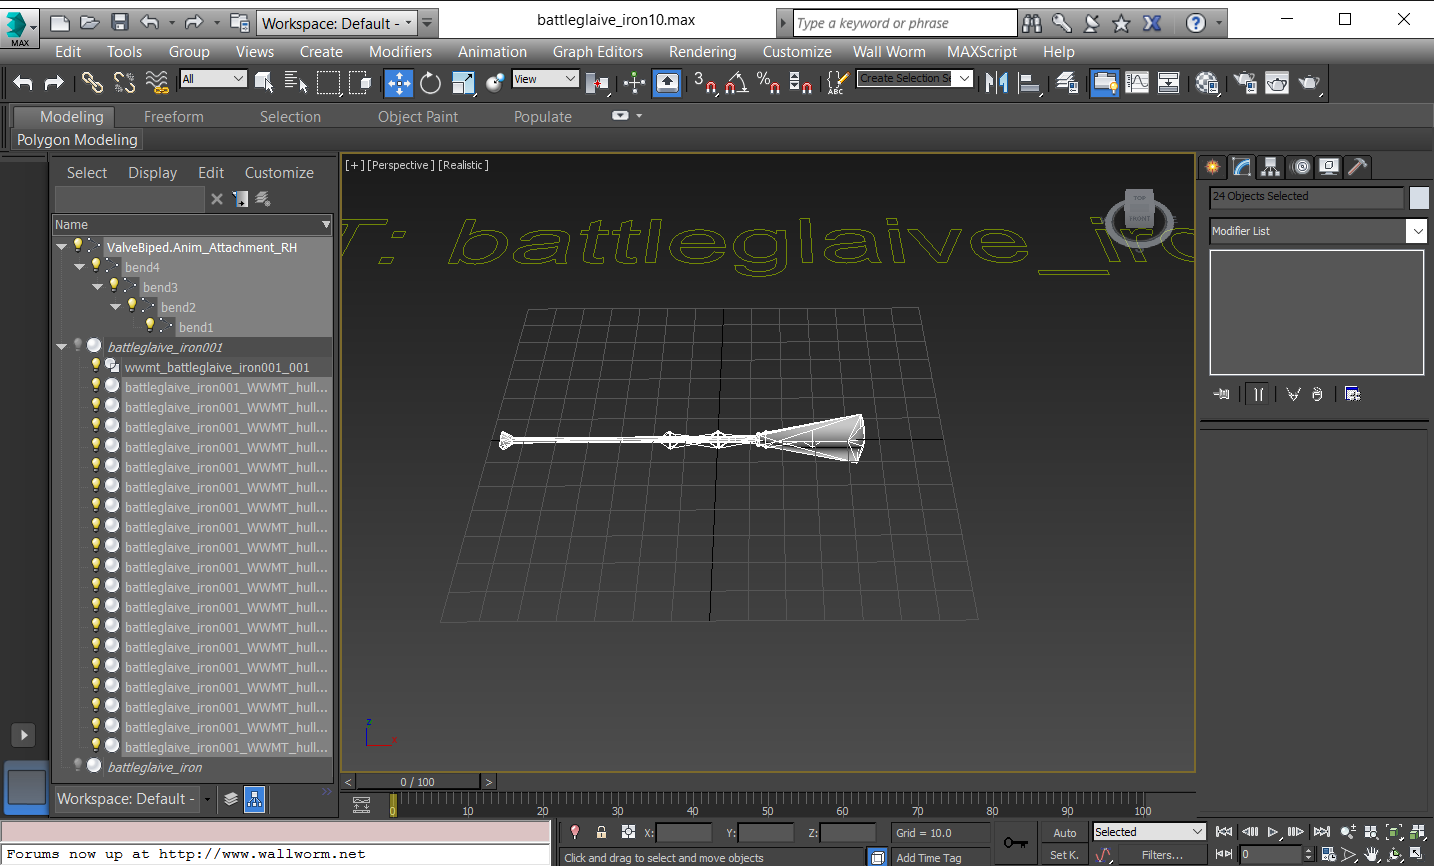
Quote from: wallworm on March 30, 2016, 11:55:25 AM
First, what method are you using to export the file (WWMT itself or the standalone SMD Exporter ? )

In terms of the extra bones, it's not immediately apparent just from the images as to what bones you expect and what bones you don't expect.

Hints:

  • The SMD Exporter makes one bone for each Mesh Node and one bone for each Bone. This is simply how it works. So if you have 5 meshes and 5 bones, the SMD will have 10 bones.
  • The fastest way to get rid of unnecessary bones is to use the $collapsebones setting in WWMT -- or add it manually to the QC.
  • To manually control bone count: use less meshes or use a mesh in the rig instead of a bone (useful for mechanical rigs)

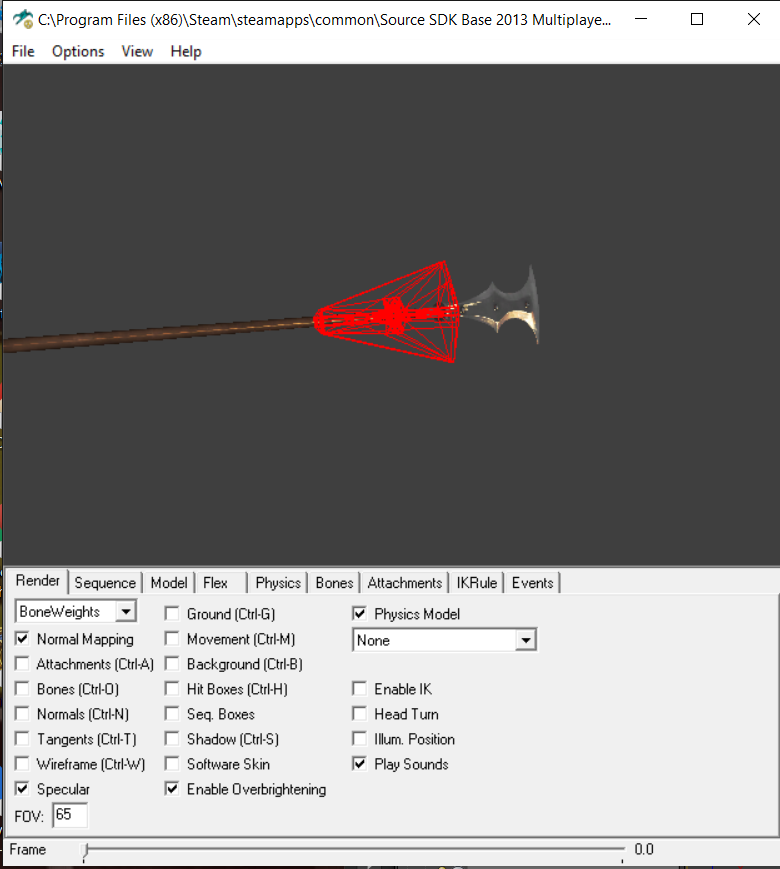
That being said, the stretching itself should be accounted for regardless of the bones. You may want to investigate the Skin modifier some more and make absolutely sure that the skin weight adds up to 1.0 for the tip of the ear. You can also go to the advances tab and make sure the bone affect limit is 3 or less and try re-exporting.
Hm. I though its very obvious to see those extra bones (Carbink002 and Carbink006 are the bones that shouldn't be there.) because some of my models don't seem to exhibit this problem despite undergoing the same process as this model has.

Anyways, I should have said this earlier, but I always use the standalone exporter.

I have also already tried adding $collapsebone in the qc file earlier, but it just collapses all bones into one place.

And I have investigated more on the skin modifer and lower the bone affect limit to 3 and I have verified that the tip of the ear has its weight value set to 1. Still didn't work.

http://i.imgur.com/GduJTz9.png

#17
I have fully weighed every part of the model properly that means each part has a weight value of 1 and each part of the model has been assigned to each individual bone.
At first I wasn't sure why my model is still showing some stretching on the ears.
http://i.imgur.com/9AAlODc.png
Upon much closer inspection, it seems that the compiler is adding new bones that I have never seen in Max at all.
http://i.imgur.com/JHoww6o.png
http://i.imgur.com/68SUgNb.png

This issue is weird as the issue sometimes appears in some models, but not in others models I have done.
#18
WWMT Questions / Re: Messed up model upon import
March 20, 2016, 12:14:46 AM
Quote from: CarbonCopyCat on March 19, 2016, 01:46:47 AM
In general, almost any file format you can import can be treated the same once imported into 3ds Max, be it .obj, .fbx, .dae, or whatever. You shouldn't have to convert back-and-forth through formats unless there's an issue with the importer/exporter of a certain format, and you'd probably get the best results just using the original file.

As for the multiple pieces, using "Attach" in Edit Poly merges the models together into a single object, though it would most likely mess up skinning. If you're just planning on exporting it to Source though, I don't think you'd have to merge each individual object; you could just use Append or Add Selection in WWMT.

I see. Well I exported the model and it seems to work fine now. I just need to fix up the smoothing errors and refine the physics mesh.

I guess I can consider this as solved although I should have asked this somewhere.
#19
WWMT Questions / Re: Messed up model upon import
March 18, 2016, 09:23:39 PM
Quote from: wallworm on March 18, 2016, 02:04:15 PM
I guess that I'm missing the logic in your steps, because you say that you import the DAE, then export the SMD, then re-import the SMD. I don't understand why you'd do that--as the file is in Max as it is. Or am I misinterpreting your opening post?

Modifying the smoothing: To change smoothing on a model, there are two methods: smoothing groups or explicit normals . Smoothing groups only work between faces that share edges, so for models that have un-welded vertices or explicit normals, you must edit them with the Edit Normals modifier. When exporting to game a model with explicit normals, you should set the WWMT settings to Explicit Normals. In my case, I set it to explicit normals (which I have on as the default in the global settings, which I recommend if you have WW Pro on). WW could default to the explicit normals at all exports because explicit normal calculation accounts for smoothing groups.... but the MAXScript implementation for this is slow, which is why I left it up to the user to set their desired setting; WW Pro exports explicit normals quickly, however, which is why I default to this in all models.

No, you interpreted correctly. That's what I exactly did.

Excuse my lack of knowledge of handling .dae files. This is the first time I have dealt with a .dae file, so I wasn't really too sure on what to do, so I just exported and imported the .dae file to an .smd files as I had more knowledge in handling .smd files.

Another reason for exporting the .dae file into an .smd file and then reimporting again, was that the model was in several pieces and I wasn't too sure on how to approach this.


Anyways, as for the smoothing, I will try out what you said and I will report back the results.
#20
WWMT Questions / Re: Messed up model upon import
March 16, 2016, 01:26:40 AM
Quote from: wallworm on March 15, 2016, 10:56:00 PM
I imported the DAE file you sent with the default import settings, and the results are the Max image on the left side. Notice all the bad smoothing. When I exported the scene to MDL, the results matched the Max scene. When I re-imported that QC/SMD, the results were identical to the original Max scene. So I'm not sure what the question is at this point. Everything worked exactly as I would expect based on the original file.
This is odd. I think the result might have been affected when I have chose the explicit normals option. I will try this again with the default normal option to see if I can replicate what you got. However, the issue is how would I get rid of the bad smoothing in the model?


EDIT: Nope, never mind. I don't know you what you did, but I got the same result as before.
#21
WWMT Questions / Re: Messed up model upon import
March 15, 2016, 11:37:28 AM
Quote from: wallworm on March 15, 2016, 09:06:50 AM
Hard to say what's going on. Email me original DAE file and I will follow the process.

Done. Let me know if you find anything.
#22
https://i.imgur.com/0I1x6XT.png

So I have attempted to import this model into 3DS Max, but upon import, the imported model is messed up in some parts.

Note: The model originally was a .dae file. There were no other file types when I originally got the models. Then, I imported the model and then I exported as an .smd. Only when I imported the model into 3DS Max as an .smd is when the problem the appeared.
#23
Sorry for the late reply.

But I want to say, thanks for the help, guys.

I managed to get the collision mesh working now.

#24
Quote from: CarbonCopyCat on February 12, 2016, 07:16:28 PM
http://dev.wallworm.com/document/69/collision_hulls_in_3ds_max_for_source.html pretty much covers all you need to know for collision hulls and such.

However, it seems like your collision mesh is concave enough as it is, and the hulls are just clumped together. Try a Reset XForm modifier (Utilities (hammer icon) -> Reset XForm) on your model and then try generating a hull again; it should work fine after that. Make sure $concave is checked though.

Also, you have somewhere around 20 collision hulls for your model, which is ridiculously excessive. Since WWMT generates a hull per element, I'd see if the model had any un-welded verts, or if that's not the problem, just create a collision mesh manually (could be easily done with a tapered cylinder and a simple editable poly).

I tried to use the Reset XForm modifer, it didn't work at all.

The problem is that I don't how to weld verts together and this might be have been unwelded.


Also, another thing to note is that detaching the parts of the model doesn't seem to work properly.
#25
I have been trying to look for tutorials about this subject, but I can't seem find a good tutorial on this topic. I have asked Facepunch about this topic, but they didn't really help me that much. So I have tried to using wallworm model tools to make a collision mesh, but all it was to pretty much clump the collision mesh and I am confused on what to do next.

#26
Quote from: wallworm on January 27, 2016, 11:39:45 AM
The importer simply reads the face material name. I can't really make any assumptions about the material name. This material you highlighted was likely generated because there is at least one face in the model with a material name of pm0031_00_Body_1_png. How and why it got that name up to this point, I do not know; I assumed you imported it and re-exported at least part of it again and then re-imported it? You could open the SMD and search for that to see what happened.

In the end, WW always assumes that the face material in the SMD is accurate and is actually the name of the material (VMT file) when importing. There is nothing illegal about a VMT file named pm0031_00_Body_1.png.vmt; since the VMT extension is rarely inside a SMD... it's the question is always going to be does a line of pm0031_00_Body_1.png in the SMD mean pm0031_00_Body_1.vmt OR pm0031_00_Body_1.png.vmt. Adding yet one more file system lookup will again slow the importer one little bit more.

I'm assuming this issue will go away as you become more familiar with how WW relates to materials. Unless you have the Legacy settings for materials and textures in the global settings, WW's handling of materials is different than Wunderboy/Cannonfodder (and even with those legacy settings I no longer test new features in WW that might affect any legacy settings... and I suggest no one ever uses those; at this point, I know that exporting SMDs and VMTs can be affected by those legacy settings... but not sure how they relate to importing). I'm not sure what settings you have or if even relevant, just adding extra info.

No, I just only imported and exported an .smd file. I didn't reimported afterwards.

Anyways, I checked the original .smd file and compared to the modified .smd file. Turns out I think you were right.


Left is the original and right is the modified .smd file.

I guess it must have been the way your importer handles textures. So I guess that settles that.

#27
Quote from: wallworm on January 26, 2016, 07:20:20 PM
Wunderboy's importer is a compiled C++ plugin, which generally runs faster than MAXScript. (MAXScript has many benefits, though... for example, far faster to develop, easier to maintain and will keep working immediately when new Max versions come out--whereas new Max versions break C++ plugins) It may be possible for me to bring the import times down with this new option, but I'm hard pressed to find time for that at the moment. Maybe down the road.

I see your point. Fair enough, hopefully when you got the time, you can improve on the import times soon.


Quote from: wallworm on January 26, 2016, 05:02:52 PM
As for the materials and textures, it's not immediately apparent to me as to what is going on. I can see texture stretching on the model in your first image, but I'm not sure what's going on. As for the exporter, it never makes new materials here. Play around with the settings to see how this may have changed for you.

I will elaborate on this. Take a look on the dark red boxes. It appears that the file extension is being carried over into exported .smd and into compiled model which results in messing up the textures. Although it's easily fixable by changing the material name in max, I find it quite annoying to deal  with every single time I have import and export a model every time.


#28
Quote from: wallworm on January 26, 2016, 05:02:52 PM
The empty message error is now fixed in a new update. Thanks for the quick report. I didn't notice because I never use the standalone SMD exporter... I only use WWMT to export models.

Regarding the new message about bone affect limit. This warning is to let you know that the Skin modifier has a bone affect limit of 20. This should be reduced to 3. This is in the advanced tab.

As for the materials and textures, it's not immediately apparent to me as to what is going on. I can see texture stretching on the model in your first image, but I'm not sure what's going on. As for the exporter, it never makes new materials here. Play around with the settings to see how this may have changed for you.

No problem if I see any more bugs. I will make sure to report to you.

So it isn't an exporter issue then. For the materials issue, I think it must have been because the material names have also included the file extension (in this case .png) when I initially imported causing the issue of messing up the textures in the exported model.

Quote from: wallworm on January 26, 2016, 06:34:09 PM
OK, update again and the welding of the skinned meshes should no longer have uvs messed up along the seams. Unfortunately, the update made it so that the elements are not as complete as the earlier update but at least the UVs work. Most vertices will be welded but only if they are sharing the same uv coordinates. When I get time, I will look into fleshing it out.

Appreciated. Thanks for the update. I guess that will have to do for now, but I think you should also try to see if you can actually make the importing process for welded skinned models more optimized, as at the moment, it's a lot more slower than wunderboy's importer. But, it's not much of priority as at least it works abeit just very slow, which I can deal for a bit.
#29
I am using Windows 10 and 3DS Max 2015 FYI.

Somehow, the WW Importer messed up the textures and the exporter is also creating new materials as well.


The method I am using to implement the textures is stated here.

Quote from: CarbonCopyCat on January 19, 2016, 10:35:53 PM
If you're using the Slate Material Editor, the material you picked from the model should either look like this (ignoring the number of standard materials):


If it's the first, then double-click the Bitmap you want to change. This menu should pop up to the side; click the circled box and you should be able to change the path.


Other minor bugs that I am getting is that I am getting a blank message when exporting a sequence


And I am not too sure why this error message keeps popping up every time I export a model.


Anyways, I was wondering if there's a fix for these issues I stated.
#30
WWMT Questions / Re: Select Element & Texture Question
January 24, 2016, 03:47:55 AM
Quote from: wallworm on January 22, 2016, 11:45:51 PM
All that being said, it will soon be a moot point. I already added that to my local version of WW today. After testing some updates that are in this update, I'll release it.

The method you suggested to solve the Select Element works only to a extent, however it doesn't allow me to delete the parts as I will end deleting the whole model. Also, I think it may be messing up the vertices. But I think that's because I apply the modifiers first and then converted to editable poly causing this problem.


But thank god, the next update will make this method as well as the current method to implement textures unnecessary. It was pretty much a pain in the butt having to delete individual polygons in parts of a model which would take minutes or even hours, where the use of select element on those said parts would have easily done that in a split second. Oh, don't even get me started on the physics weighing part. That's was absolute dread to do, especially when every single polygon was its own element. To tell you the truth, that was pretty much the big reason why I prefer using wunderboy's importer at the moment as it contained functionality that didn't really exist in your importer at the moment, but thanks to your next update. I might consider using WW over wunderboy depending on how this feature of yours goes. Anyways, I will be looking forward for your next update of WW. :)

Quote from: wallworm on January 22, 2016, 11:45:51 PM
If WW had found the VMT and bitmaps in the paths it's looking, then it would have been visible. Turns out that when it can't find the VMT, WW just creates a dummy material with the name of the face... and when this material is generated it doesn't get the setting to Display in Viewport. Starting in Max 2014? or so, the default state of new materials is to NOT display in the viewport. So whenever a material isn't displaying, select the material in the material editor and click the Display in Viewport icon at the top (it's a checkered box with a little light bulb).

In the next update, WW will set that automatically too.

Anyways, I tried out what you said and it worked! The textures managed to show itself. Thanks!

SMF spam blocked by CleanTalk